Why Keurig Coffee Maker Not Working: Troubleshooting Guide
Discover practical, urgent fixes when a Keurig won’t brew. This BrewGuide Pro guide covers power faults, clogs, descaling, and reservoir seating to restore coffee quickly.

Why a Keurig Won't Brew: Common Causes
Mineral buildup from hard water is the top culprit for a non-brewing Keurig. Over time, scale forms in the heater block and flow paths, reducing water movement or triggering safety shutoffs. A clogged needle from grounds or broken K-Cup seating can block flow. Improperly seated water reservoir or lid misalignment can prevent the machine from initiating a brew cycle. Electrical faults—like a loose plug, a tripped breaker, or a worn power switch—also show up as “not working” in the real world. Finally, descaling is not optional; many gadgets fail when mineral deposits accumulate, making the pump work harder or fail to deliver water. Regular maintenance remains your best defense, and small fixes done promptly can save a trip to service.
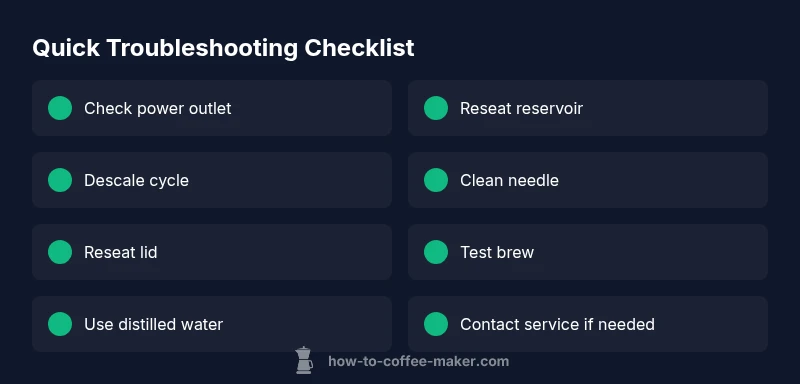
Quick Checks You Can Do Right Now
- Ensure the power cord is firmly plugged in and the outlet works. Test the outlet with another device to confirm.
- Inspect the water reservoir: is it seated properly, filled to the minimum line, and is the lid closed securely?
- Run a cleaning or descaling cycle according to the manufacturer’s directions. Use a manufacturer-approved descaling solution for best results.
- Check for a clogged brew head or a misaligned K-Cup; remove any pods and ensure the head is clear.
- Verify there are no obvious error lights or flashing indicators and reset the unit if the manual permits.
Diagnostic Flow: Symptom-to-Diagnosis
- Symptom: No brew starts or no water movement.
- Diagnosis path: Check power -> water path -> descaling -> reservoir seating.
- Symptom: Water flows but no coffee comes out.
- Diagnosis path: Check the needle and clog points, reseat reservoir, then retry.
- Symptom: Intermittent performance or unusual noises.
- Diagnosis path: Check for leaks, pump issues, or a failing heater module. If uncertain, move to professional assessment.
Step-by-Step Fixes for the Most Common Cause
- Power and reset: Unplug the Keurig, wait 30 seconds, and plug back in. If the outlet is controlled by a switch, ensure it’s ON. This reboots the control board and can clear minor faults. Tip: Use a known-good outlet to eliminate wiring issues.
- Descale and flush: Mix the descaling solution with water as directed and run a full descaling cycle. Rinse by running several brew cycles with fresh water. Tip: Do not skip the final rinses to remove residual solution.
- Clean the needle: Turn off and unplug. Remove the water reservoir, then use a straightened paperclip to clear the needle's exit path. Rinse the head with water and run a test brew with no coffee to verify flow. Tip: Do this gently to avoid damaging the needle.
- Re-seat reservoir and lid: Remove the reservoir, wipe the contact points, and reseat it firmly. Make sure the lid is closed and seals correctly. Tip: Misalignment is a common cause of no-brew symptoms.
- Test with a fresh cup: Place a fresh K-Cup, choose a standard brew, and run a full cycle. If coffee still won’t dispense, move to advanced checks or professional service. Tip: Use a single-serve cup of plain water to isolate cup-related issues.
- When to seek service: If issues persist after thorough descaling, cleaning, and reseating, contact authorized repair services or consider replacement. Tip: Keep your receipts and note any error codes for faster diagnosis.
Prevention Tips to Keep Your Keurig Running
- Descale every 1-3 months depending on water hardness and usage to prevent mineral buildup.
- Regularly clean the brew head and needle to avoid clogs.
- Use filtered or bottled water to minimize mineral content in your system.
- Inspect the power cord and outlet for wear and avoid overloading power strips.
- Schedule a yearly maintenance check if you rely on your Keurig daily.