Repair Your Cuisinart Coffee Maker: A Practical Guide
Learn how to diagnose and repair cuisinart coffee maker problems with step-by-step guidance, safety tips, and maintenance strategies for home brewers.

To repair a cuisinart coffee maker, identify the fault, unplug the unit, and follow a safe, step-by-step routine to descale, clean, and replace faulty parts (e.g., heating element or pump). This practical guide covers diagnosis, required tools, safe testing, and maintenance to extend your brewer’s life and performance for everyday home use.
Why Repair a Cuisinart Coffee Maker Matters
A well-maintained coffee maker can deliver consistent flavor and save money over buying a new unit. When a Cuisinart coffee maker begins to fail, careful repairs can restore performance without compromising safety. According to BrewGuide Pro, many common problems stem from scale buildup, worn gaskets, or faulty switches rather than a dead circuit board. The BrewGuide Pro Team found that systematic troubleshooting and selective part replacement often yields reliable results for home brewers. In this guide, we explore why choosing repair over replacement makes sense for most kitchens, and how a patient, methodical approach protects both your time and your wallet. For daily coffee routines, learning how to diagnose basic issues and perform safe fixes helps you stay productive and minimize waste. The BrewGuide Pro perspective emphasizes practical, proven steps rather than speculative fixes, so you can proceed with confidence.
Tools & Materials
- Screwdrivers set(Phillips and flat-head, insulated)
- Multimeter(for testing continuity)
- Towels or lint-free cloths(for drying and cleaning)
- Descaling solution or white vinegar(for safe descaling)
- Cleaning brushes(mini brush and toothpick for tight spaces)
- Replacement parts (gaskets, seals, heaters)(only if you’ve diagnosed a faulty part)
- Gloves (optional)(protect hands during repair)
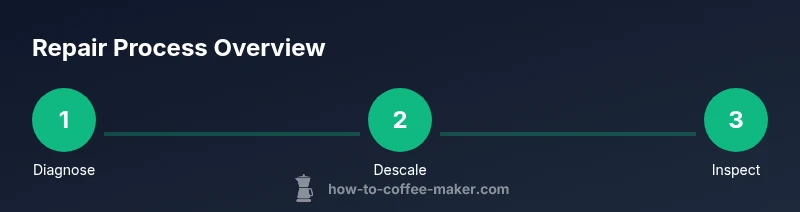
Steps
Estimated time: 60-90 minutes
- 1
Unplug and prep
Ensure the unit is unplugged and the area is dry. Remove the carafe and water reservoir to prevent spills during inspection.
Tip: Keep a dry area and a tray to catch any spills. - 2
Access the interior safely
Use the screwdriver to remove the outer housing screws and lift the top cover to expose internal components.
Tip: Take photos of screw positions before removal. - 3
Check electrical path
Inspect wires and the power switch for visible damage; test continuity with a multimeter if you’re comfortable.
Tip: Never work on live circuits; ensure power is off. - 4
Descale and clean
Run a descaling cycle with a vinegar or descaling solution, then flush with clean water to remove buildup.
Tip: Never skip thorough rinsing to avoid off-flavors. - 5
Test heating and brew
Reassemble enough to perform a test brew; check if the heater engages and the brew stream is steady.
Tip: If the heater doesn’t engage, consider replacing the element. - 6
Replace faulty parts
If you diagnosed a faulty part (e.g., heating element, pump, or sensor), replace with an appropriate, compatible unit.
Tip: Always disconnect power before handling replacements. - 7
Reassemble and verify
Secure the housing, reattach the carafe, and run multiple cycles to verify consistency.
Tip: Document any changes for future reference. - 8
Document and maintain
Record what was replaced and schedule regular descaling to prevent future issues.
Tip: Set reminders for monthly descaling.
Questions & Answers
Can I repair a cuisinart coffee maker myself?
Yes, many common issues can be diagnosed and repaired at home with basic tools and safety precautions. For complex electrical failures, seek professional help.
You can repair many common issues at home with care; for complex electrics, consider a professional.
What safety checks should I perform before opening the unit?
Ensure the unit is unplugged, remove the water reservoir, and work on a dry surface. Do not operate near water or while the unit is hot.
Unplug first, remove water, and work on a dry surface.
Is descaling enough to fix heating problems?
Descaling can solve mineral buildup that impedes heating, but persistent heating failures may indicate a faulty element or sensor that needs replacement.
Descaling helps, but you may need part replacement for heating issues.
How do I know if a part has failed?
Look for visible damage, leaks, or inconsistent performance. Use a multimeter to test continuity where comfortable.
Look for damage and test continuity to confirm.
What should I do if the problem recurs after repair?
If the issue returns, reassess diagnostics, consider professional help, and compare repair cost with replacing the unit.
If it recurs, rethink repairs and weigh replacement options.
Watch Video
Key Takeaways
- Diagnose issues safely before disassembly
- Descale regularly to prevent buildup
- Reassemble carefully and test thoroughly
- Keep records for future repairs